|
 |
| Date:
05-09-99 |
Teams:
2 |
| File:
scrum.zip |
Players:
4-32
(20 recommended) |
| Game:
TFC |
Size:
Large |
| Briefing:
Meat
and potatoes. |
|
 |
Scrum!
 |
Author: Wedge
| Reviewer: Borg
Objective:
You and a teammate must each stand on an arenas touchpad
to gain control of that arena. Arena's MUST be taken in ORDER, starting close to your
fort. Scoring is based on how long your team controls the arena, and the distance to your
fort.
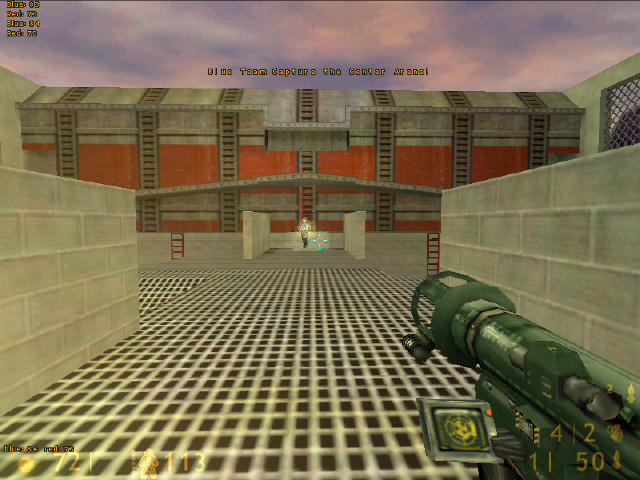
When you control all 3 arenas, you may then assault the enemy fort and touch the SCRUM!
pad. This scores you BIG points, and resets the teams and the arenas.
Scoring:
Nearest Arena:
Hold the nearest arena to score 2 points per minute (1 every 30 seconds)
Center Arena:
Hold the center arena to score 3 points per minute (1 every 20 seconds)
Take the center arena away from enemy control to score 1 bonus point
Enemy Arena:
Hold the enemy arena to score 4 points per minute (1 every 15 seconds)
Take the enemy arena away from enemy control to score 2 bonus points
Enemy Fortress:
SCRUM! scores 20 points, resets the arenas and respawns the teams
Evaluation:
Firstly, I'd just like to thank the maps' author, Wedge,
for providing a place for me to conduct a somewhat informal playtest. This kind of just
happened by luck, but at least it allowed me to get a decent look at this map. Sometimes
you need to take advantage of certain situations to get a job done.
The construction of this map is actually pretty good, if
somewhat lacking in areas. From the readme file attached to this map, the author himself
states that he was anxious to move on to other projects, and this could explain how some
areas of the design weren't as well done as they could have been. Again, my main complaint
about this map is the same as it has been for many, totally inadequate signage. Being able
to reference yourself on the map is very important, and aids in the overall pace of the
game. When you need to get to the 3rd arena to help your teammate, it would be nice to
just be able to use a sign for quick reference, and then get on your way. I can't really
say that there was much of a theme to this map, which is basically a modified 2fort
design. It does work with the overall object of the game, but nothing really inspiring.
Not to worry though, even Valve is guilty of this one, but custom mappers should be
striving to go one-up on Valve, after all, it's their job to get the game into our hands,
and attention to the last iota of detail would take forever. Hence, the custom mapping
community should give them examples of how it should be done.
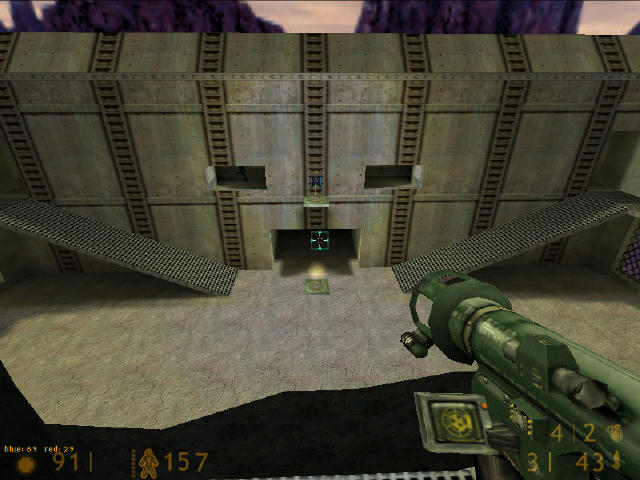
Layout was ok, but confusing, due to lack of signage, and
the large areas you had to cover. The open arenas aided you in quickly seeing your goals,
so kudos to that. The author wanted to use the flags as indicators of who was controlling
a certain arena, but nobody but him knew this. Many a question was asked about this, and
the author didn't indicate this in his readme. Getting around a map this large wasn't
actually too hard, and elements were provided to aid in this. Namely, there's large
"cannon" that will launch you across the main approach to your own base when you
leave, and the entrance to the "cannon" is located right outside your main
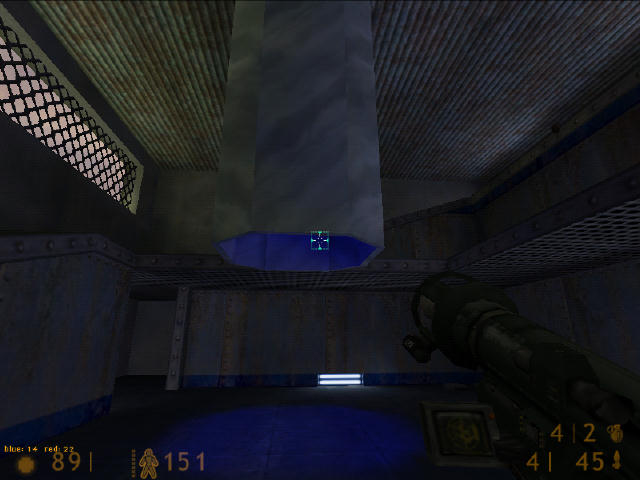
respawn. You'll see the tube coming down from the ceiling. All you have to do to get shot
out is stand under the opening and jump. The walkways and ramps were pretty well thought
out, and only minor confusion was found in between arenas. With a map this size, the
signage issue really pops up. There are signs over the scrum point in the map, but you
still need to actually find your way into the enemy base to find it.
Teamwork was actually this maps strongest point. Hats off
to the author for this, as it's pretty surprising how few maps out there will emphasize
this the way he has. In order to capture arenas, you must have a teammate stand on the
opposite pad to you, hence, teamwork MUST be employed. When making the assault on the
enemy base, you'd better have a few comrades with you, otherwise the attempt will be very
short lived. There weren't a whole lot of innovative strategy elements to this map, mainly
because of the objectives that most people were working towards. Defense wasn't too
strongly emphasized, due to the fact that most people went for classes with speed, in
order to capture the arenas quickly. I think this had a lot to do with how organized
people on the teams were, and that a clan match would be a totally different ball game.
Since most people want to be heroes, and the map is so large, they all tended to go for
the quick score, rather than make sure their own home was ok. I'm not saying that every
class couldn't be fully utilized on the map, as is evidenced by its design, but people
just seemed to make the choice for speed. There were more than ample opportunities for
every class to have fun, but people just seemed not to choose them. Maybe offering some
quick and dirty way into the forts would have forced more defensive actions, because
people would have realized that the enemy could pop up at any moment. This, however, is a
minor gripe.
Verdict:
Not an overly exciting map, although it is very conducive
to good teamplay. It has some original elements, but has a steeper learning curve than it
should. A good middle of the road map, worth the download for a
large team.
| Section |
Sub-Section |
Score |
| Design |
Construction |
6 |
| Theme |
5 |
| Playability |
Layout
& Mobility |
5 |
| Tactics |
Teamwork |
7 |
| Strategy |
6 |
| Overall |
-[
29 ]- |
Delta
Bravo Final
Score:
- 29/50
-

|
![[Delta Bravo] -main-](../../images/page/title/deltalogo.jpg)