"This is a variation of the usual & popular Capture the Flag
Team Fortress Maps. Two forts face each other, and two military
forces of space marines struggle for domination.
The action takes place on a remote but strategic outpost. Two
Clans have been able to seize control of the compound, also
making sure their SlipGates will pump a steady flow of reinforcements
as the battle rages on.
Points of interest:
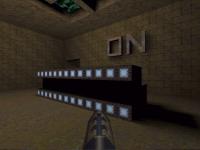
- SECURITY SYSTEM Each base has a Security System, which can
be activated and de-activated by any class
from either team. It's easier to destroy than
it is to create.
The security system will also warn of spies, so
keep your eyes peeled.
Unlike many maps, I have made this security
system broadcast the ALARM messages to each
team player, so no one has to just stand there
and stare at some texture.
Here are some usefull details to know.
ON Switch health 1000
OFF Switch health 500
Switch Delays 120 seconds
- BUNKERS There are four military bunkers placed in the
courtyard, surrounding the landing pad. They
have their advantages and disadvantages. It
will be for the player to figure out!
- THE UNDERGROUND The underground system of tunnels, connects
all four bunkers and offers a way into the
water and sewage system.
- THE BRIDGE Should it stay? Or should it go?
In larger games, the underground could play
a large role, since enemies could secure
the bunkers closest to their enemies and
put dispensers and certain personnel such
as medics for before assault ready. Not to
mention scouts will play a more important
role, trying to notify their teams of hidden
troops. The bridge can be both an advantage
and a disadvantage."
|
|
The underground is divided by a bridge and water. The bridge is detpackable. |
|
| JMC Star Rating: |
 |
|
|
|
|
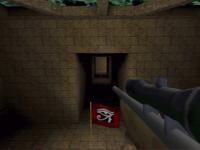
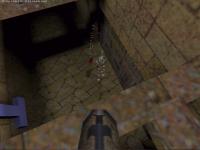
The flag is located deep within the walls of each teams base |
|
|
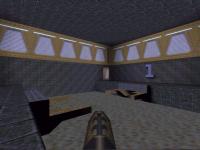
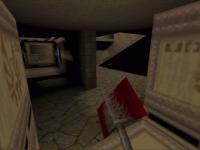
The capture point is located on the wall on the top floor of each teams base. |
|
|

|
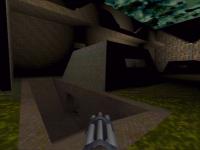
The open area between the two bases has four bunkers. The bunkers make very good locations for snipers. |
|
Closeup of one of the bunkers |
|
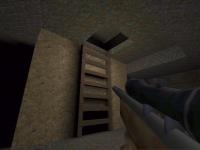
A ladder leads up into each bunker |
|
A sniper defends from inside the protection of the bunker |
|
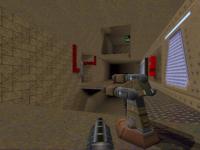
Just inside the base there is a grate which could be used by a demoman to rain grenades down on the incoming enemy |
|
The ramp room can be defended from behind the crates by snipers and engineers |
|
An autosentry waits for enemy coming up the ramps |
|
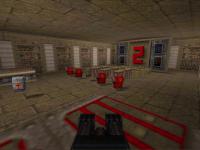
The ammo/spawn room is well filled |
|
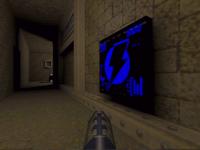
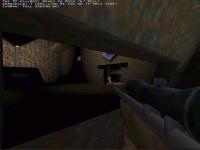
The security system is located on the top level |
|